Viewing on a TV
You can connect the camera to an external monitor or TV to view recorded pictures and videos.
Getting started:
 Turn off the camera and TV.
-
Connect the camera and TV with a commercially available HDMI cable. (
 [HDMI] socket)
-
Turn on the TV.
-
Switch the TV input to HDMI input.
-
Turn on the camera.
-
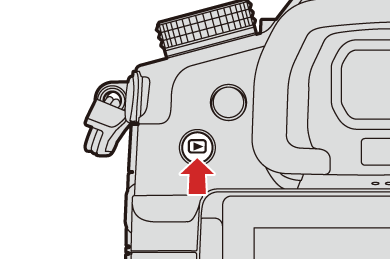
Display the playback screen.
 Press [
 ].
].
The recorded images are displayed on the TV. (The monitor and viewfinder of the camera will turn off.)
|
The output resolution can be changed in [Output Resolution(Playback)]. (
You can change the band color in [Background Color(Playback)] in [HDMI Connection] of the [Setup] ([IN/OUT]) menu. (
|
 Using VIERA Link
VIERA Link (HDAVI Control™) is a function that allows you to use your remote control for the Panasonic TV for easy operations when the camera has been connected to a VIERA Link compatible device using an HDMI cable for automatic linked operations.
(Not all operations are possible.)
|
For the setting procedure, refer to the operating instructions for the TV. |
-
Connect the camera to a Panasonic TV compatible with VIERA Link using a commercially available HDMI cable. (
[HDMI] socket)
-
Turn on the camera.
-
Turn on the VIERA Link.

![]() [
[![]() ]
] ![]() [
[![]() ]
] ![]() [HDMI Connection]
[HDMI Connection] ![]() [VIERA Link (CEC)]
[VIERA Link (CEC)] ![]() [ON]
[ON]
-
Display the playback screen.
Press [].
-
Operate with the remote control for the TV.
Power off link
If you turn off the TV with its remote control, the camera will also turn off.
Automatic input switching
If you turn on the camera and then press [], the input of the TV automatically switches to input to which this camera is connected.
Furthermore, when the TV power is in the standby state, it turns on automatically.
(When “Power on link” on the TV is set to “Set”)
|
|