Post-Focus Recording
 Selecting the Focus Point for the Picture to Save
![]()
![]()
![]()
![]()
![]()
![]()
![]()
![]()
Taking burst pictures with the same image quality as 6K/4K photos while automatically changing the focus point.
You can select the focus point for the picture to save after recording.
Also Focus Stacking lets you combine images with multiple focus points.
This function is suitable for subjects that do not move.
-
Perform burst 6K/4K photo recording while automatically shifting the focus.
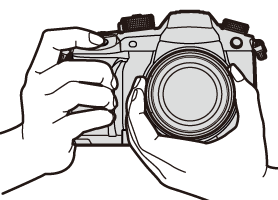
-
Touch the desired focus point.
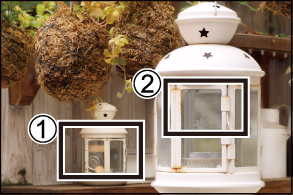
-
A picture with the desired focus point is made.

|
|
-
Set the drive mode dial to [
 ].
].
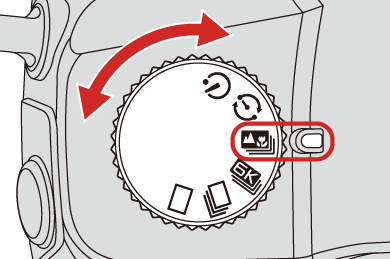
-
Set the image quality for [Post-Focus].


 [
[![]() ]
]  [
[![]() ]
]  [Post-Focus]
  [6K 18M]/[4K 8M]
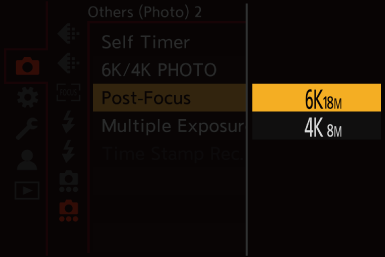
-
Close the menu.
 Press the shutter button halfway.
-
Decide on the composition and then adjust the focus.
 Press the shutter button halfway.
 AF detects the focus point on the screen. (Excluding the edges of the screen)
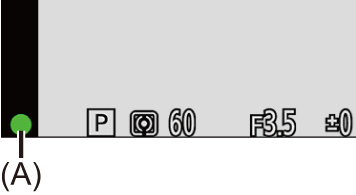
 If no areas on the screen can be brought into focus, the focus icon (A) blinks and recording is not possible.
 Maintain the same distance to the subject and the same composition until recording finishes.
-
Start recording.
 Press the shutter button fully.
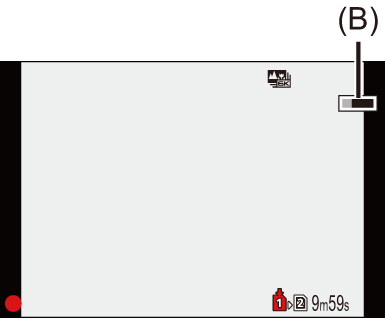
 Recording is performed while automatically changing the focus point.
When the icon (B) disappears, recording ends automatically.
 A video will be recorded with [Rec. File Format] set to [MP4]. (Audio will not be recorded.)
 In default settings, Auto Review operates, and a screen that lets you select the focus point will be displayed. (
 Selecting the Focus Point for the Picture to Save)
|
– [Rough Monochrome]/[Silky Monochrome]/[Miniature Effect]/[Soft Focus]/[Star Filter]/[Sunshine] ([Filter Settings]) – [Multiple Exposure] |
Selecting the Focus Point for the Picture to Save
-
Select a Post-Focus image on the playback screen. (
 Playing Back Pictures)
 Select an image with the [
![]() ] icon and then press
] icon and then press  .
.
 You can also perform the same operation by touching the [
![]() ] icon.
] icon.

-
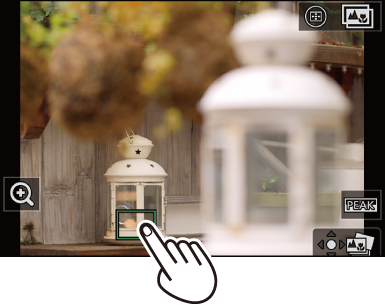
Touch the focus point.
 When the point is in focus, a green frame appears.
 If there is no picture with the selected point in focus, a red frame appears.
A picture cannot be saved.
 The edge of the screen cannot be selected.
-
Save the picture.
 Touch [
![]() ].
].
 The picture is saved in JPEG format.
 Focus Point Selection Operations
|
|
Focus Stacking
By merging multiple focus points, you can save pictures that are focused from the foreground through to the background.

(A) Closer
(B) Focus
(C) More distant
-
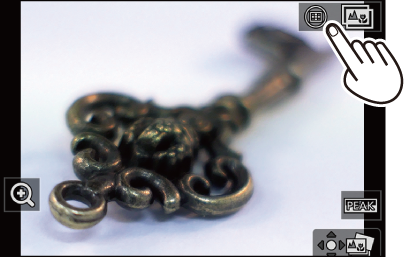
Touch [
 ] on the screen for selecting the focus point. (
 Selecting the Focus Point for the Picture to Save)
 You can also perform the same operation by pressing [
 ].
].
-
Select the merging method.

[Auto Merging]
Automatically selects pictures suitable for merging and then merges them into a single picture.
[Range Merging]
Merges pictures with selected focus points into a single picture.
-
(When [Range Merging] is selected) Touch the focus points.

 Select at least two points.
Selected points are indicated with a green frame.
 The in-focus range between the two selected points is displayed in green.
 Ranges that cannot be selected are displayed in gray.
 To cancel the selection, touch a point with a green frame again.
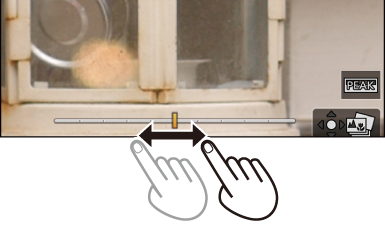
 To select consecutive points, drag the screen.
-
Save the picture.
 Touch [
![]() ].
].
 Operations when [Range Merging] Is Selected
|
Button operation |
Touch operation |
Description of operation |
|
|
Touch |
Selects a point. |
|
[ |
[Set/Cancel] |
Sets or cancels a point. |
|
[DISP.] |
[All] |
Selects all points. (Before selecting points) |
|
[Reset] |
Cancels all selections. (After selecting points) |
|
|
|
|
Merges the pictures and saves the resulting picture. |
|
|


 /
/



 /
/