Video Brightness and Coloring
 Recording While Controlling Overexposure (Knee)
[Luminance Level]
![]()
![]()
![]()
![]()
![]()
![]()
![]()
![]()
You can set the luminance range to suit the purpose of video recording.
You can set to [16-235] or [16-255], the standard for video, or to [0-255], which covers the entire range of luminance, the same as pictures.

 [
[![]() ]
]  [
[![]() ]
]  Select [Luminance Level]
[0-255]([0-1023])
Setting for video recording at full range.
[16-235]([64-940])
Setting for video recording at video range.
[16-255]([64-1023])
Setting for video recording at video range.
 The display may not show the correct gradation depending on the monitor, the video playback software, and the video editing software that you are using.
|
|
[Master Pedestal Level]
![]()
![]()
![]()
![]()
![]()
![]()
![]()
![]()
You can adjust the black level, which serves as the reference for images.
-
Set the recording mode to [
 ].
].
 Set the mode dial. (
 Selecting the Recording Mode)
-
Select [Master Pedestal Level].


 [
[![]() ]
]  [
[![]() ]
]  [Master Pedestal Level]
-
Adjust master pedestal.
 Rotate
  ,
,  or
or  .
.
 Set in the range between −15 and +15.

|
– [V-Log]/[ARRI LogC3]/[REAL TIME LUT] ([Photo Style]) |
Recording While Controlling Overexposure (Knee)
![]()
![]()
![]()
![]()
![]()
![]()
![]()
![]()
When [Photo Style] is set to [Like709], you can adjust the knee so that recording can be performed with minimal overexposure.
-
Set [Photo Style] to [Like709].


 [
[![]() ]
]  [
[![]() ]
]  [Photo Style]
  [Like709]
-
Press [Q].
-
Select a knee setting.
 Press
Press 
 to select a setting item.

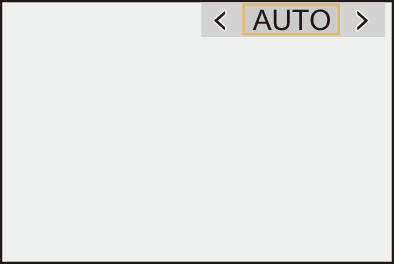
[AUTO]
Adjusts the compression levels of high-luminance areas automatically.
[MANUAL]
You can set the luminance where compression starts (knee master point) and the intensity of compression (knee master slope).
Press 
 to select an item and then press
 to adjust.
[POINT]: Master knee point
[SLOPE]: Master knee slope
 Rotate
  to adjust the knee master point, and
  to adjust the knee master slope.
 Values within the following ranges can be set:
– Master knee point: 80.0 to 107.0
– Master knee slope: 0 to 99
[Off]
-
Confirm your selection.
 Press
Press  or
or  .
.
[ISO Sensitivity (video)]
![]()
![]()
![]()
![]()
![]()
![]()
![]()
![]()
Sets the lower and upper limits for ISO sensitivity when ISO sensitivity is set to [AUTO].
-
Set the recording mode to [
 ].
].
 Set the mode dial. (
 Selecting the Recording Mode)
-
Set [ISO Sensitivity (video)].


 [
[![]() ]
]  [
[![]() ]
]  [ISO Sensitivity (video)]
 Setting Items ([ISO Sensitivity (video)])
[ISO Auto Lower Limit Setting]
Sets the lower limit for ISO sensitivity when ISO sensitivity is [AUTO].
 Sensor output 60 fps or lower: Set in the range between [100] and [6400].
 Sensor output 61 fps or higher: Set in the range between [100] and [1600].
[ISO Auto Upper Limit Setting]
Sets the upper limit for ISO sensitivity when ISO sensitivity is [AUTO].
 Sensor output 60 fps or lower: Set to [AUTO] or in the range between [200] and [12800].
 Sensor output 61 fps or higher: Set to [AUTO] or in the range between [200] and [3200].
|
|
