[LAN / Wi-Fi Setup] Menu
This configures the settings required for the wired LAN/Wi-Fi function.
The settings cannot be changed while connected with wired LAN/Wi-Fi.
Displaying the [LAN / Wi-Fi Setup] menu.


![]() [
[![]() ]
] ![]() [
[![]() ]
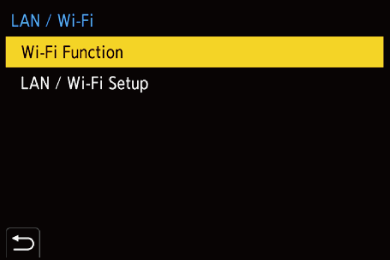
] ![]() [LAN / Wi-Fi]
[LAN / Wi-Fi] ![]() [LAN / Wi-Fi Setup]
[LAN / Wi-Fi Setup]
[Priority of Remote Device]
This sets either the camera or the smartphone as the priority control device to be used during remote recording. ( Operation Method During Remote Recording)
[IP Address Setting (LAN)]
Sets the IP address when connecting via wired LAN.
You can select to either automatically allocate the IP address with the DHCP, or set any static IP address.
[DHCP Server]: Select when the camera is to be connected as the DHCP server.
[DHCP Client]: Select when the camera is to be connected as the DHCP client. (Default setting)
[Static IP Address]: Select when connecting using an IP set in [Static IP Address Setting].
[Static IP Address Setting]: Set the IP address to be used in [Static IP Address].
[IP Address]: The default setting is <192.168.0.2>.
[Subnet Mask]: The default setting is <255.255.255.0>.
[Default Gateway]: The default setting is <192.168.0.1>.
Use the correct combinations when setting the [IP Address], [Subnet Mask], and [Default Gateway].
 Consult the administrator of the network you are using for detailed information about the DHCP settings and static IP address settings.
If you have modified settings in [IP Address Setting (LAN)], turn the camera off and on again.
[Wi-Fi Password]
When connecting to a smartphone, you can use a password for enhanced security. (Using Password Authentication to Connect)
You can change the password by using [Device Name/Password]. ([Device Name/Password])
[PC Connection]
You can set the workgroup.
To send images to a PC, you need to connect to the same workgroup as the destination PC.
(The default setting is “WORKGROUP”.)
To change the workgroup name, press or  and enter the new workgroup name.
To return to the default settings, press [DISP.].
[Device Name/Password]
You can change the camera name (SSID) and password.
Press [DISP.] to change the device name and password.
The number of characters you can enter is a maximum of 32 for the device name and between 8 and 63 for the password.
[LAN / Wi-Fi Function Lock]
You can set a password to prevent incorrect operation and use of the wired LAN/Wi-Fi functions by a third party and to protect personal information that may be found either in the camera itself or in images recorded with the camera.
[Setup]: Enter any 4-digit numbers as the password.
Once a password is set, you are required to enter it when you select [LAN / Wi-Fi Setup] or [Streaming].
[Cancel]: Cancel the password.
[Network Address Display (LAN)]
Displays the MAC address and IP address of the camera when connecting via wired LAN.
[Network Address Display (Wi-Fi)]
Displays the MAC address and IP address of the camera when connecting via Wi-Fi.
|
|