Recording Using a Wireless Flash
![]()
![]()
![]()
![]()
![]()
![]()
![]()
![]()
![]()
You can use a Flash (DMW-FL580L/DMW-FL360L/DMW-FL200L: optional) to record using a wireless flash.
You can separately control the firing of three flash groups and the flash attached to the hot shoe of the camera.
 Placing a Wireless Flash
Place the wireless flash with its wireless sensor facing the camera.
Placement example
When (C) is placed to erase the shadow in the background of the subject that the flash groups (A) and (B) will create

Placement range
When DMW-FL360L is attached
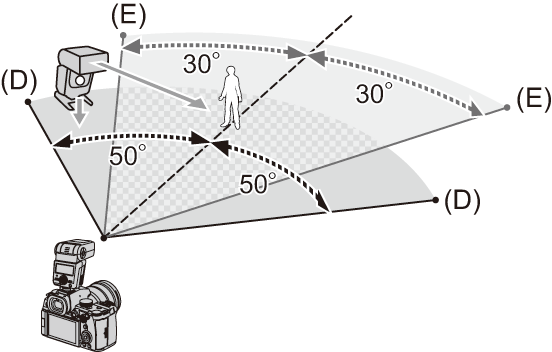
(D) 5 m (16 feet)
(E) 7 m (23 feet)
|
You can reduce the effect by setting [Communication Light] to [LOW] or lowering the output with a diffuser or similar device. ( |
-
Attach an external flash to the camera. (
 Removing the Hot Shoe Cover)

-
Set the wireless flashes to [RC] mode and then place them.
 Set the channel and group for the wireless flashes.

-
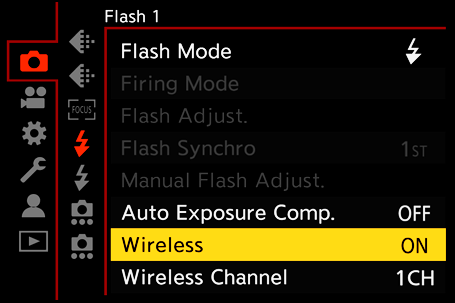
Enable the wireless flash function of the camera.


 [
[![]() ]
]  [
[![]() ]
]  [Wireless]
  [ON]
[ON]
-
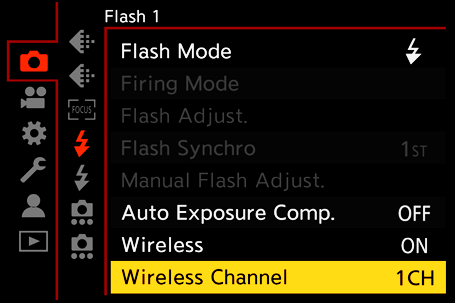
Set [Wireless Channel].
 Select the same channel as on the wireless flash side.
-
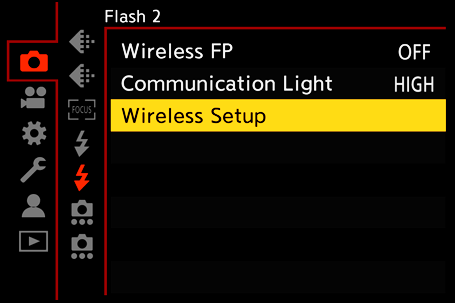
Set [Wireless Setup].
 Set the firing mode and flash output.
|
|
 Setting Items ([Wireless Setup])
 To fire a test flash, press [DISP.].
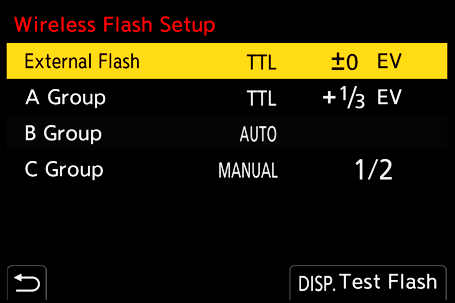
-
This cannot be selected when [Wireless FP] is set.
-
This cannot be set when using the Flash (DMW-FL200L: optional).
 [Wireless FP]
The external flash performs FP firing (repeated high-speed firing of the flash) during wireless recording, enabling recording using the Flash even at fast shutter speeds.

 [
[![]() ]
]  [
[![]() ]
]  Select [Wireless FP]
Settings: [ON]/[OFF]
 [Communication Light]
Set the strength of communication light.

 [
[![]() ]
]  [
[![]() ]
]  Select [Communication Light]
Settings: [HIGH]/[STANDARD]/[LOW]

