Log Recording

![]()
![]()
![]()
![]()
![]()
![]()
![]()
![]()
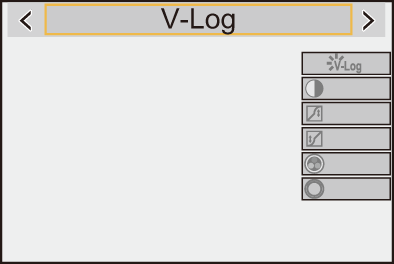
Setting [Photo Style] to [V-Log] enables Log recording.
Images finished with rich gradation can be created through post-production processing.

![]() [
[![]() ]
] ![]() [
[![]() ]
] ![]() [Photo Style]
[Photo Style] ![]() Select [V-Log]
Select [V-Log]
|
You can download LUT data from the following support site: https://panasonic.jp/support/global/cs/dsc/download/index3.html (English only) |
 ISO Sensitivity When [V-Log] Is Set
The lower limit of available ISO sensitivities is [250] (when [Extended ISO] is set: [125]; when [Dynamic Range Boost] is set: [2000]).
Exposure When [V-Log] Is Set
The [V-Log] curve characteristics comply with “V-Log/V-Gamut REFERENCE MANUAL Rev.1.0”. When set to [V-Log], the standard exposure when gray with a reflectance ratio of 18 % is imaged is IRE 42 %.

 When luminance is to be displayed by “Stop” units, this camera calculates IRE 42 % to “0 Stop”.
|
|

[V-Log View Assist]
When [Photo Style] is set to [V-Log], the recording screen and images output via HDMI will darken. Using [V-Log View Assist] means you can show images with LUT data applied on the monitor/viewfinder and output them via HDMI.
![]() [
[![]() ]
] ![]() [
[![]() ]
] ![]() Select [V-Log View Assist]
Select [V-Log View Assist]
[Read LUT File]
Reads LUT data from the card.
[LUT Select]
Selects the LUT data to be applied from among the preset ([Vlog_709]) and registered LUT data.
[LUT View Assist (Monitor)]
Displays the images with LUT data applied on the monitor/viewfinder of the camera.
[LUT View Assist (HDMI)]
Applies LUT data to images output over HDMI.
|
|
Reading LUT Files
|
– The “.vlt” format, which meets the requirements specified in the “VARICAM 3DLUT REFERENCE MANUAL Rev.1.0” – The “.cube” format
(Use alphanumeric characters for the file name) FAT32 (SD card/SDHC card): Up to 8 characters (excluding extension). exFAT (CFexpress card/SDXC card): Up to 255 characters (including extension).
|
-
Insert a card on which LUT data is saved into the camera.
-
Select [Read LUT File].
![]() [
[![]() ]
] ![]() [
[![]() ]
] ![]() [V-Log View Assist]
[V-Log View Assist] ![]() [Read LUT File]
[Read LUT File] ![]() [Card Slot 1(CFexpress)]/[Card Slot 2(SD)]
[Card Slot 1(CFexpress)]/[Card Slot 2(SD)]
-
Press

 to select the LUT data to read and then press or
  .
.
-
Press
to select the location to register the data, and then press or .
When registered items are selected, they will be overwritten.