Video Brightness and Coloring
 Recording While Controlling Overexposure (Knee)
[Luminance Level]
![]()
![]()
![]()
![]()
![]()
![]()
![]()
![]()
You can set the luminance range to suit the purpose of video recording.
You can set to [16-235] or [16-255], the standard for video, or to [0-255], which covers the entire range of luminance, the same as pictures.

 [
[![]() ]
]  [
[![]() ]
]  Select [Luminance Level]
Settings: [0-255]/[16-235]/[16-255]
|
|
[Master Pedestal Level]
![]()
![]()
![]()
![]()
![]()
![]()
![]()
![]()
You can adjust the black level, which serves as the reference for images.
-
Set the recording mode to [
 ].
].
 Set the mode dial. (
 Selecting the Recording Mode)
-
Select [Master Pedestal Level].


 [
[![]() ]
]  [
[![]() ]
]  [Master Pedestal Level]
-
Adjust master pedestal.
 Rotate
  ,
,  or
or  .
.
 Set in the range between −15 and +15.

|
– [V-Log] ([Photo Style]) |
Recording While Controlling Overexposure (Knee)
![]()
![]()
![]()
![]()
![]()
![]()
![]()
![]()
When [Photo Style] is set to [Like709], you can adjust the knee so that recording can be performed with minimal overexposure.
-
Set [Photo Style] to [Like709].


 [
[![]() ]
]  [
[![]() ]
]  [Photo Style]
  [Like709]
-
Press [Q].
-
Select a knee setting.
 Press
Press 
 to select a setting item.

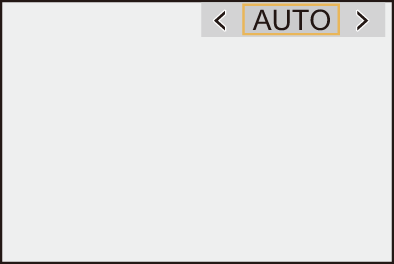
[AUTO]
Adjusts the compression levels of high-luminance areas automatically.
[MANUAL]
You can set the luminance where compression starts (knee master point) and the intensity of compression (knee master slope).
Press 
 to select an item and then press
 to adjust.
[POINT]: Master knee point
[SLOPE]: Master knee slope
 Rotate
  to adjust the knee master point, and
  to adjust the knee master slope.
 Values within the following ranges can be set:
– Master knee point: 80.0 to 107.0
– Master knee slope: 0 to 99
[Off]
-
Confirm your selection.
 Press
Press  or
or  .
.
[ISO Sensitivity (video)]
![]()
![]()
![]()
![]()
![]()
![]()
![]()
![]()
Sets the lower and upper limits for ISO sensitivity when ISO sensitivity is set to [AUTO].
-
Set the recording mode to [
 ].
].
 Set the mode dial. (
 Selecting the Recording Mode)
-
Set [ISO Sensitivity (video)].


 [
[![]() ]
]  [
[![]() ]
]  [ISO Sensitivity (video)]
 Setting Items ([ISO Sensitivity (video)])
[ISO Auto Lower Limit Setting]
Sets the lower limit for ISO sensitivity when ISO sensitivity is [AUTO].
 Set in the range between [100] and [6400].
[ISO Auto Upper Limit Setting]
Sets the upper limit for ISO sensitivity when ISO sensitivity is [AUTO].
 Set to [AUTO] or in the range between [200] and [12800].
[Dynamic Range Boost]
![]()
![]()
![]()
![]()
![]()
![]()
![]()
![]()
Outputs a signal with a wide dynamic range from the image sensor.
This allows recording of video with a wider dynamic range.
-
Set the recording mode to [
 ].
].
 Set the mode dial. (
 Selecting the Recording Mode)
-
Set [Dynamic Range Boost] to [ON].


 [
[![]() ]
]  [
[![]() ]
]  [Dynamic Range Boost]
  [ON]
[ON]
|
– [Rec Quality] with a high frame rate video exceeding a recording frame rate of 60.00p – [Variable Frame Rate] exceeding a frame rate of 60 fps |
