- 5. Recording settings
- White Balance / Image Quality
- [Filter Settings]
This mode records with additional image effects (filters).
1Set the [Filter Effect].
[MENU/SET]  [
[![]() ]
]  [
[![]() ]
]  [Filter Settings]
  [Filter Effect]
  [SET]
[SET]
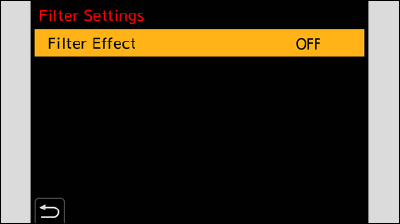
2Select the filter.
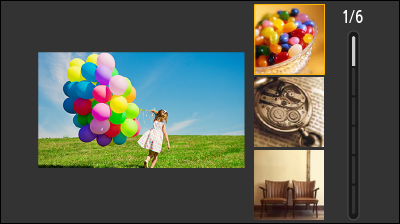
Press  to select, and then press [MENU/SET].
Press [Fn1] to switch the screen between normal display and guide display.
The guide display shows the description of each filter.
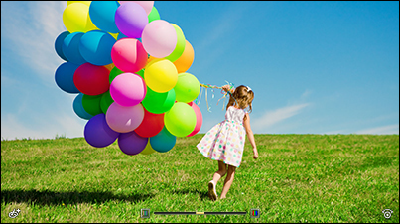
You can adjust the filter effect.
 Select the filter.
 On the recording screen, press
  .
.
 Rotate
 ![]() to set.
to set.
To return to the recording screen, press [MENU/SET] again.
When the filter effect is adjusted, the filter icon on the recording screen is indicated with [ ].
].
|
Filter |
Items that can be adjusted |
|
[Expressive] |
Vividness |
|
[Retro] |
Coloring |
|
[Old Days] |
Contrast |
|
[High Key] |
Coloring |
|
[Low Key] |
Coloring |
|
[Sepia] |
Contrast |
|
[Monochrome] |
Coloring |
|
[Dynamic Monochrome] |
Contrast |
|
[Impressive Art] |
Vividness |
|
[High Dynamic] |
Vividness |
|
[Cross Process] |
Coloring |
|
[Toy Effect] |
Coloring |
|
[Toy Pop] |
Area with reduced peripheral brightness |
|
[Bleach Bypass] |
Contrast |
|
[Miniature Effect] |
Vividness |
|
[Fantasy] |
Vividness |
|
[One Point Color] |
Amount of color left |
Setting the Type of Defocus ([Miniature Effect])
 Set [Filter Effect] to [Miniature Effect].
 Press
Press  to display the setting screen.
 Press
Press  or
or  to move the in-focus portion.
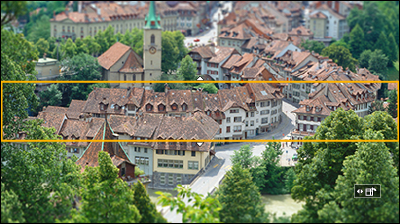
 Rotate
 ![]() to change the size of in-focus portion.
to change the size of in-focus portion.
To reset the in-focus portion setting to the default, press [Fn1].
 Press [MENU/SET] to set.
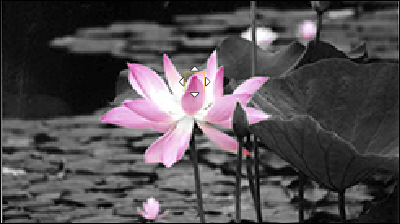
Setting the Color to Be Left ([One Point Color])
 Set [Filter Effect] to [One Point Color].
 Press
Press  to display the setting screen.
 Press
Press  to move the frame and select the color you want to leave.
To return the frame back to the center, press [Fn1].
 Press [MENU/SET].