[REAL TIME LUT]
![]()
![]()
![]()
![]()
![]()
![]()
![]()
![]()
Set the Photo Style to [REAL TIME LUT] and apply a LUT file.
-
Register [REAL TIME LUT] to the Fn button.
-
Display the LUT file selection screen.
 Press the Fn button set in Step 1.
 When setting up initially, etc., after purchase, the QR code that takes you to the site for downloading “LUMIX Lab” may be displayed.
-
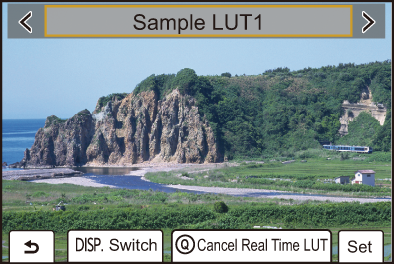
Select the LUT.
Press 
 to select, and then press
  .
.
You can also select by rotating  ,
,  or
or  .
.
The LUT file list is displayed when you press [DISP.].
You can apply the LUT file that was registered in the [LUT Library]. ( [LUT Library])
[Sample LUT1] is applied in the default setting.
[![]() ] is displayed on the recording screen when a LUT file has not been applied.
] is displayed on the recording screen when a LUT file has not been applied.
To cancel Real Time LUT, press [Q].